More and more people have now begun to blend different essential oils to create their custom elixirs. Knowing how to create these potent mixtures is a huge factor in being able to maximize the use of essential oils. Essential oil blending recipes are not limited to just perfumes, there is, in fact, an impressive range of their methods! But with simply too many different components to choose from, where do we even begin?
11 Tips for Blending Essential Oils to Get You Started
1. ?Know What Results You Want
It is only logical that you determine what exactly you want to do with the mixture you are trying to produce before even beginning to blend your oils. Essential oils are often used as perfumes but, as mentioned, there is a myriad of additional benefits to using them, with every type of oil bringing in its function. And to figure out what you want, it may be helpful if you were to ask yourself the following questions:
- What effect/s do I want it to have?
- What do I want it to smell like?
- How can I apply it?
2. Get The Right Supplies
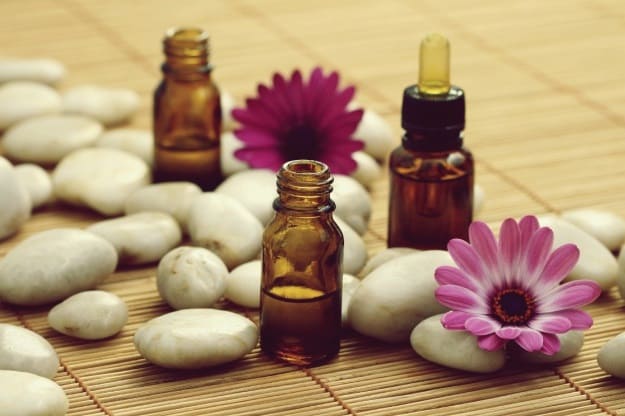
In any DIY project, it is important to get the proper supplies. Head on over to the nearest craft store to stock yourself up on the following:
- Blending bottles, but any small (1/2 or 1/4 ounce) sealable glass container would do.
- Glass dropper?or a reducer cap to help you deal with these minute quantities of liquid.
- Fragrance test strips?to help compare and to test how the scents wear off over time.
- Gloves?because it is important to protect your hands in procedures involving complex compounds such as blending essential oils.
- Paper and Pen?to help track your ingredients as you experiment.
- And, of course,?a collection of your favorite essential oils.
3. Know The Oils You Are Using
To establish what you want for your result, you must first take into consideration what the oils you currently have are capable of. And if none of the oils you have are capable of the scent or function you are looking for, research on what oils do serve the purpose you want and where you could find them. To kick-start your research, let us help you with this essential oil properties list:
- Peppermint Oil?– It may help alleviate symptoms such as nausea, headaches, gas, indigestion, and anxiety. It helps stimulate metabolism and calms muscle spasms along the gastrointestinal tract. It is also well known for its scent and its menthol scent and properties.
- Rose Oil?– It bears a strong floral scent, as one would imagine. It has antibacterial properties and may help with stress and anxiety. Rose oil may also help the skin become more permeable which is useful when applying it to other products.
- Jasmine Oil?– It has stimulating effects and increases alertness.
- Tea Tree Oil?– It may be used as an antiseptic due to its antimicrobial properties.
4. Understand Top, Middle, and Base Notes in Perfumery
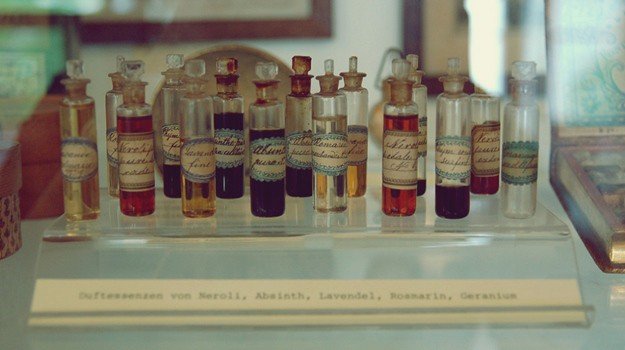
Although in blending essential oils you will be creating something that functions beyond a perfume, it is still important to understand the different scent notes involved in making perfume. Knowing the notes can also help you understand which essential oils blend well together. This is necessary to make sure that the scent you end up with smells great.
- Top Note?- This is the scent you pick up before the others and only remains for an hour or two after application because they tend to evaporate the fastest. These notes are usually very light and fresh, often comprised of citrus or minty scents (i.e., lemon, lime, bergamot, eucalyptus, peppermint, and basil).
- Middle Note?– This note begins to dominate after the top note evaporates. Also known as the heart of the perfume, this usually last from two to four hours. Middle notes tend to be comprised of more floral scents. Examples of oils used for the middle note are the following: chamomile, jasmine, rose, tea tree, ilang-ilang, nutmeg, cinnamon, and clary sage.
- Base Note?– The base note is the last to evaporate and only dominates once the first two notes have already faded. Oils used as base notes may take up to days to evaporate and are very heavy and strong. It is woody and spicy aromas such as patchouli, sandalwood, vanilla, ginger, angelica root, and oakmoss that are often used as base notes.
5. Know the Types of Aromas
To be able to describe the scent you are looking for. It is vital that you know the terminology used. This is also necessary so that you can describe your mixture to other essential oil enthusiasts. After all, being able to trade recipes with others is a fun way of mixing things up when blending essential oils.
- Floral?– Rose, Jasmine, Lavender
- Citrus?– Orange, Lime, Lemon
- Woody?– Sandalwood, Cedarwood, Juniper
- Earthy – Oakmoss, Patchouli, Valerian
- Herbaceous?– Basil, Rosemary, Sage
- Spicy – Cinnamon, Ginger, Nutmeg
6. Test Your Scents Before Blending
This is when the fragrance test strips and cotton balls come into play! To test your oils for their scent properties, you can first apply them to your strips or cotton balls. Hold the strip close to your nose to get a good whiff of it! It is best also to try to hold the strip at arm’s length and move it around to help waft the scent towards you.
Make sure to take down notes. This will help you come back to the scents after testing!
7. Take Down Notes
As mentioned, take down notes to make it easier for you to come back to the individual scents once you begin experimenting. It is also important to continue to take down notes even during the blending phase. It helps if you ask yourself the following questions:
- What do I enjoy about this scent?
- What does it remind me of?
- How does it make me feel?
- How does it smell after 2 hours? 4 hours? 6 hours? And so on.
8. Keep It Simple, Stick to the Basics
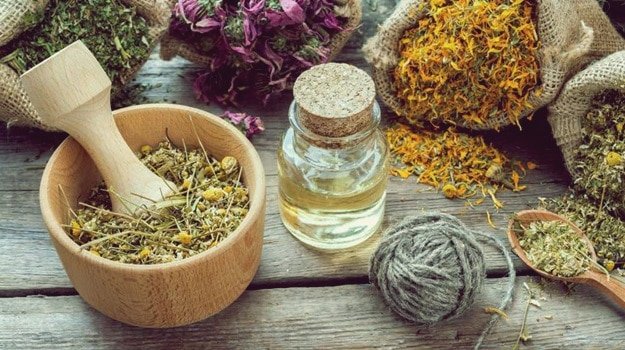
We’re glad you’re excited about making your custom scents, but remember you are still learning! Start out small. You’ll eventually get to the more complex combinations once you get the hang of it. When you’re starting out, it is best to keep things simple. Limit your recipes to 3 oils — the top note, the middle note, and the base note.
9. Limit Your Blend to 10 Drops
Good thing you have that trusty glass dropper! Keep your quantities small as essential oils are expensive and it would be a waste if you were to use large quantities to experiment. In addition to this, it is easy to figure out the proportion of 10 drops in case you end up wanting to reproduce the new blend you had made up.
10. 30-50-20 Rule
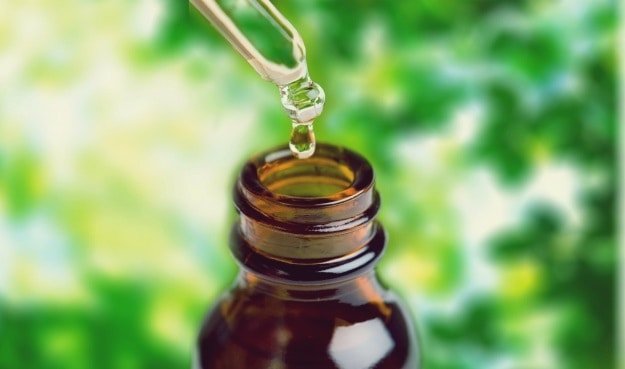
Knowing this rule would make it easier for you to figure out how much of each oil you are to use. 30-50-20 refers to the proportion of oils that is recommended. Considering the 10 drops of product you are recommended to start with, this translates to the following:
- 3 drops of the top note oil
- 5 drops of the middle note oil
- 2 drops of the base note oil
11. Let It Set
Allow your mixture to rest for a few days to let the oils combine more. If you begin to test the scent you made right after you finish blending, it is likely it will change over time. Wait a little bit to make sure you are indeed testing the final product.
Watch this video by The English Aromatherapist for information about an app that can be used for blending essential oils!?
Blending essential oils is a lot of fun. After all, it is the easiest way to customize your scents that would tailor your own needs. We hope this post of ours helps you begin your journey of learning more about the world of aromatherapy!
What are your favorite essential oils? Share them with us in the comment section below!
Up Next:?70 Pint Dehumidifier Reviews on Amazon
We may earn a commission for purchases made using our links. Please see our disclosure to learn more. We appreciate your support SO very much.


